

|
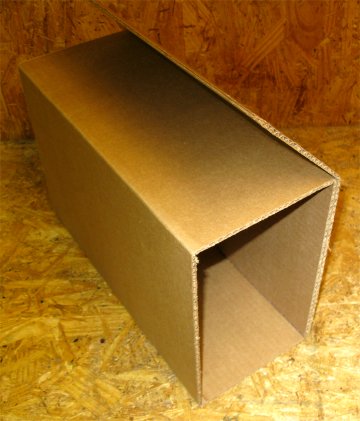
<<< Continued from previous page I folded the remaining panel at the corner, then glued it to the first panel by running a bead of hot glue around the perimeter:
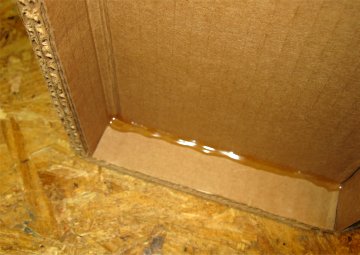
Next I cut a piece for the first end cap. This should measure the exact width of the box interior and be least 3" longer than the opening (to allow for the 1 ½" recess on each end). (By the way, cutting these is readily accomplished with a flat blade paper trimmer.) Once the cap was cut to size, I folded each end 1 ½" in and glued the flaps to the cap to the box interior, being careful to line up the edges. I also ran beads of glue along the open joints of the cap to both completely seal the opening against the elements and add additional strength:
At this point I inserted the book into the box and cut a second end cap to width, this time allowing more than 3" in length for the opening so as to custom fit it exactly. This can be accomplished by making the folds in place: 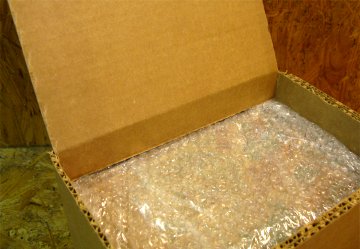
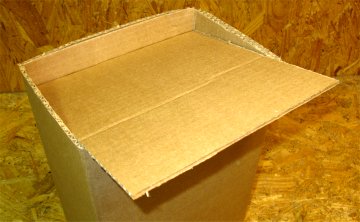
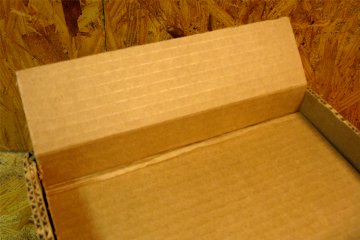
The second end cap was glued, and here is the resulting box:
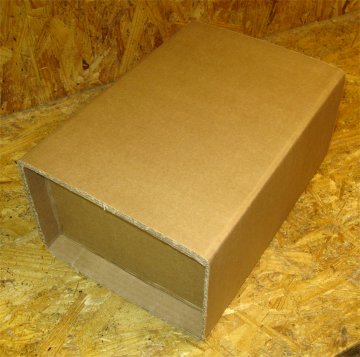
Even if empty, this box is so strong it can be stood on without crushing it - far stronger than a conventional box - and the dictionary is absolutely frozen in place. If you're concerned about the box being opened for postal inspection, you can affix an "Open Here for Inspection" label or something similar along the leading edge of the final panel. Since only the perimeters are glued, the panel can be pulled off readily, the contents inspected, and reattached with, say, tape without disturbing the end caps. This method is also very useful for packaging book lots with minimal or no voids. Also, and scraps, besides being useful for cutting end caps, make excellent stiffeners for mailing ephemera, booklets and other flexible items, especially so if you cut two pieces to the same size with the fluting oriented perpendicular to each other.
Want to read more articles by
< to previous article
to next article >
Questions or comments?
| Forum
| Store
| Publications
| BookLinks
| BookSearch
| BookTopics
| Archives
| Advertise
| AboutUs
| ContactUs
| Search Site
| Site Map
| Google Site Map
Store - Specials
| BookHunt
| BookShelf
| Gold Edition & BookThink's Quarterly Market Report
| DomainsForSale
| BookThinker newsletter - free
Copyright 2003-2011 by BookThink LLC
|

|
|